Programming Your Garage Door Remote: A Step-by-Step Guide
For many homeowners in Los Angeles, CA, the garage door remote is a daily convenience that simplifies life. Programming it correctly ensures seamless operation every time you arrive home. While it may seem complicated, programming your remote is a manageable task with the right instructions. In this article, we’ll cover everything you need to know to get your garage door remote up and running.
Understanding Your Garage Door Remote
Before diving into the programming process, it’s essential to understand the components involved:
- Remote Control: The handheld device that communicates with the garage door opener.
- Garage Door Opener: The motorized device installed in your garage that operates the door.
- Programming Button: The button on your garage door opener that allows you to sync your remote.
Common Remote Types
Most garage door remotes fall into two categories:
- Fixed Code Remotes: These use a predetermined code that doesn't change.
- Rolling Code Remotes: These generate a new code each time the remote is used, enhancing security.
Why You Might Need to Program Your Garage Door Remote
There are several reasons why you might need to program your garage door remote:
- You’ve purchased a new remote.
- Your existing remote is malfunctioning.
- You’ve changed your garage door opener.
- Your remote's battery has been replaced.
Step-by-Step Guide to Programming Your Garage Door Remote
Programming your garage door remote can vary slightly based on the model of your garage door opener. However, the general process is quite similar. Here’s how you do it:
1. Gather Your Materials
Before starting, gather the following:
- Your garage door remote control
- Your garage door opener manual (if available)
- A step ladder (if needed)
2. Locate the “Learn” Button
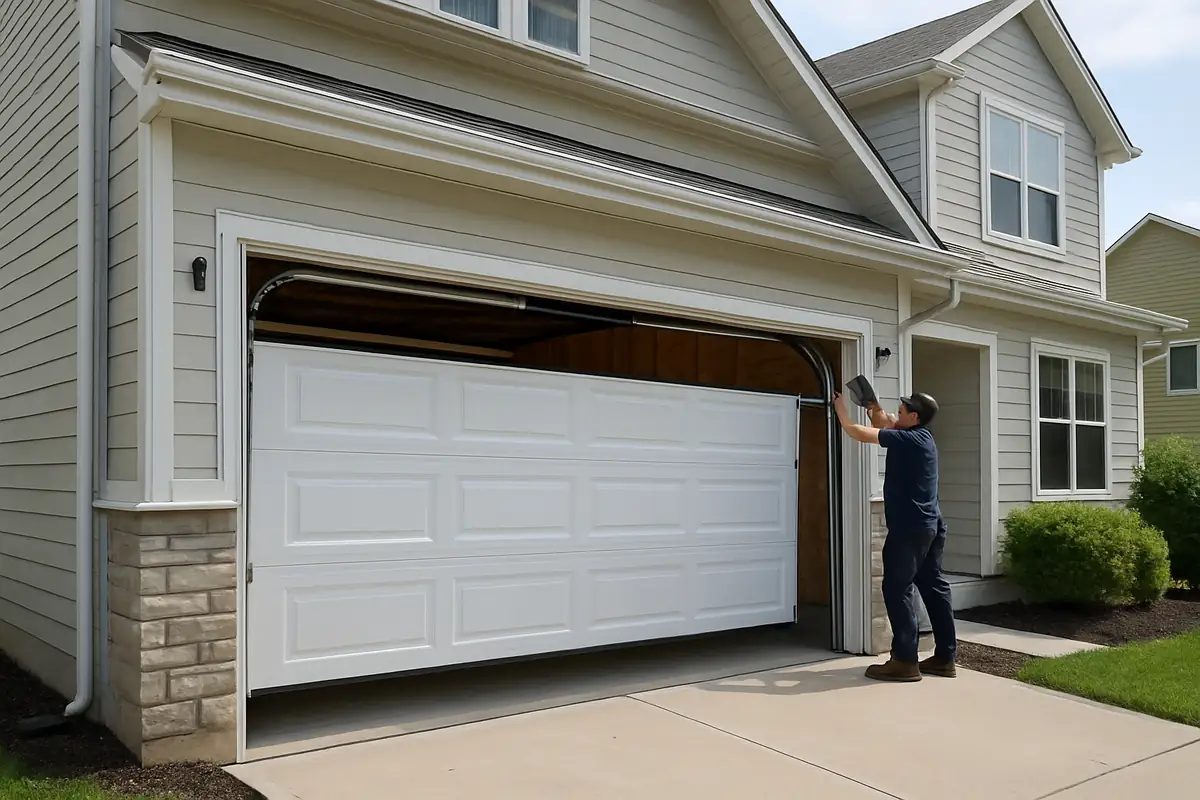
To begin programming, you must first locate the “Learn” button on your garage door opener. This button is usually found on the back or side of the unit and may be labeled differently depending on the manufacturer.
3. Prepare to Program
Once you’ve found the “Learn” button:
- Stand under your garage door opener.
- Press and hold the “Learn” button until the indicator light turns on.
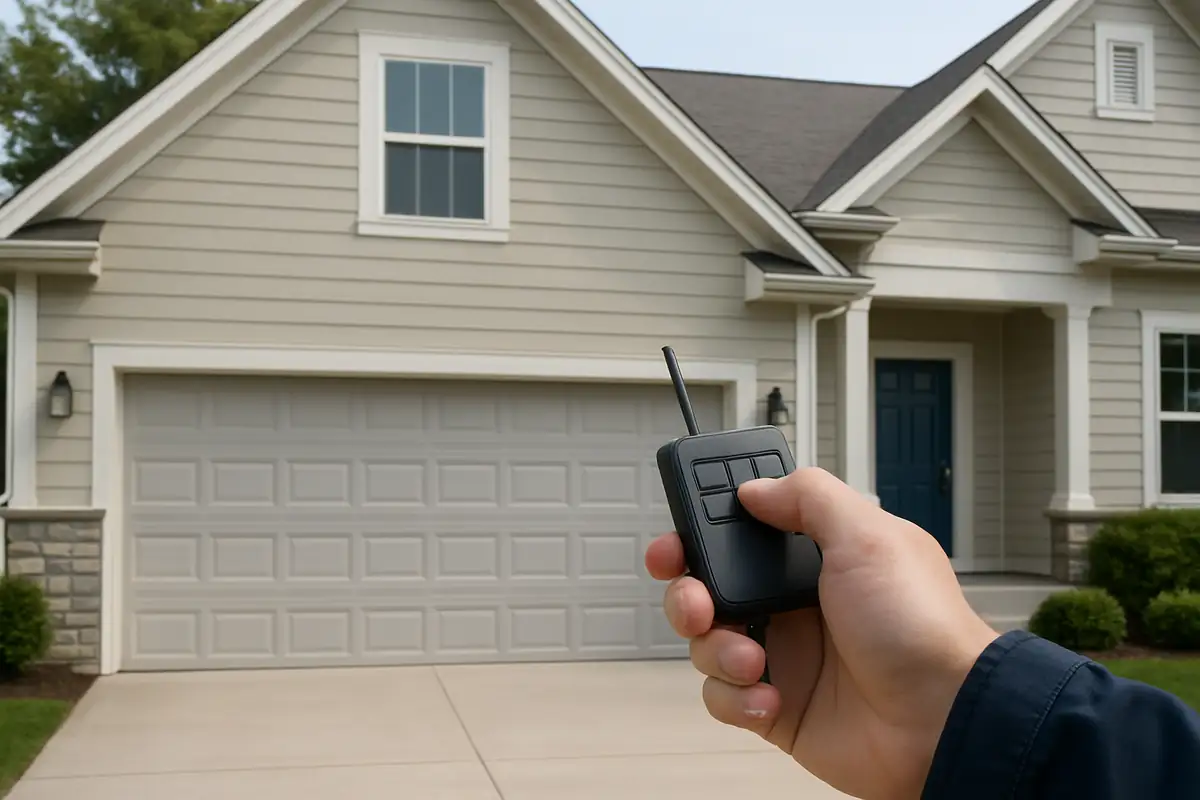
4. Program Your Remote
Now, it’s time to program the remote:
- Within 30 seconds of pressing the “Learn” button, press and hold the button on the remote you wish to program.
- Release the button when the garage door opener lights blink, indicating that the programming was successful.
5. Test the Remote
After programming, test the remote to ensure it operates correctly. Stand outside your garage and press the remote button. If the door opens or closes, congratulations—you’ve successfully programmed your remote!
Troubleshooting Common Issues
If your remote doesn't work after programming, consider the following:
- Check the Battery: A weak or dead battery can prevent proper function.
- Signal Interference: Ensure there are no obstacles between the remote and the opener.
- Repeated Programming: If the remote still doesn’t work, try reprogramming it.
Security Tips for Your Garage Door Remote
Your garage door remote provides access to your home, making security critical:
- Change the Code Regularly: For rolling code remotes, ensure the code changes routinely to improve security.
- Limit Remote Distribution: Only provide remotes to trusted individuals.
- Secure Your Garage Door: Regularly check that the door is locked and functioning correctly.
Conclusion
Programming your garage door remote doesn’t have to be a tedious task. Following these simple steps can help you ensure that your garage door operates smoothly. If you encounter issues or need assistance, remember that Absolute Garage Door Repair is just a call away. Our expert technicians are ready to help you with any garage door needs in Los Angeles, CA. Contact us today!
Explore More Resources
Related Articles
Service Areas
We proudly serve Los Angeles, Studio City, North Hollywood, Franklin Canyon, West Hollywood and more areas.
Our Services
Professional garage door repair, spring repair, opener installation and more. View all services →
Top 5 Garage Door Safety Tips Every Homeowner Should Know - Absolute Garage Door Repair
Smart Garage Door Features You Need to Know for Your Los Angeles Home